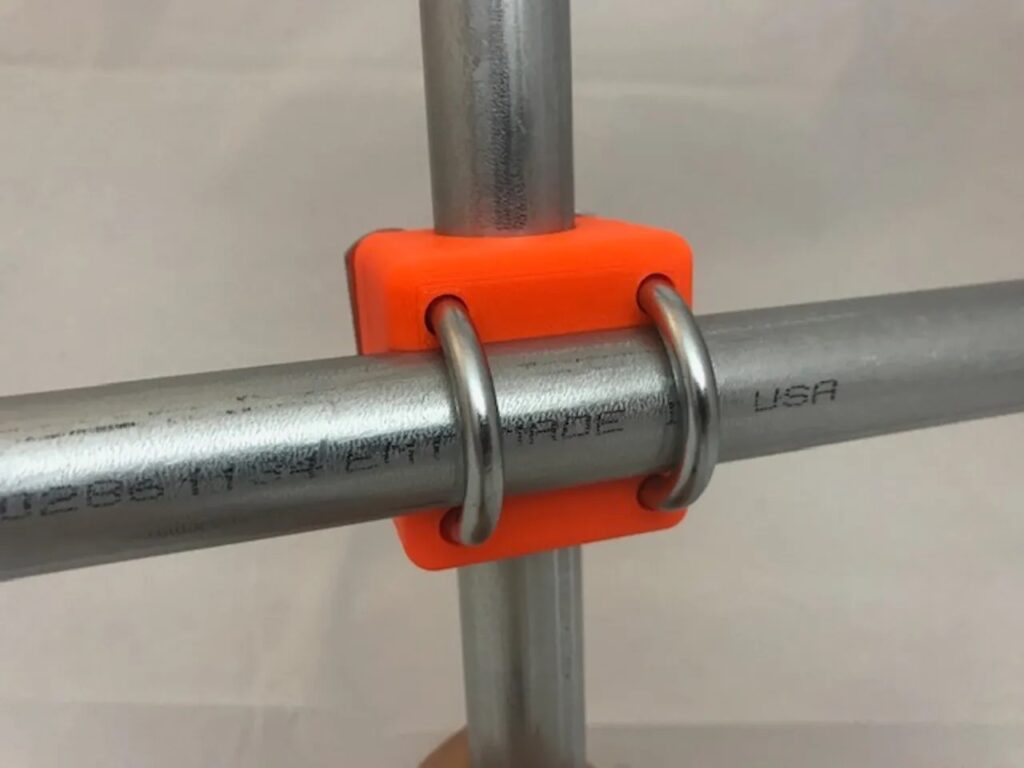
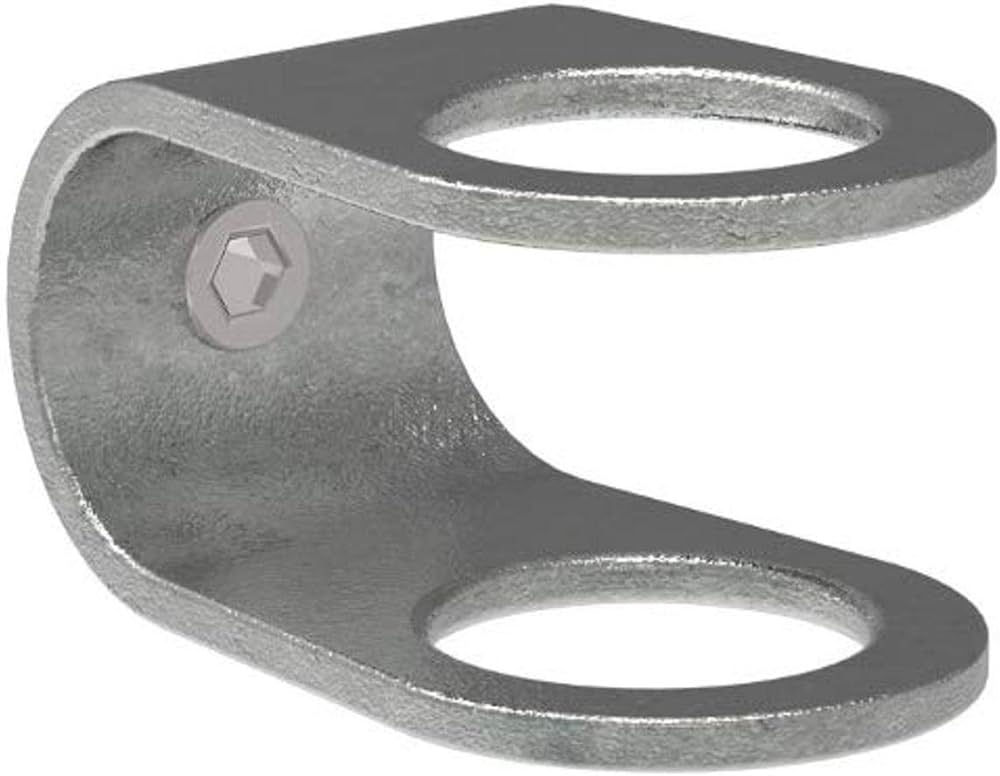
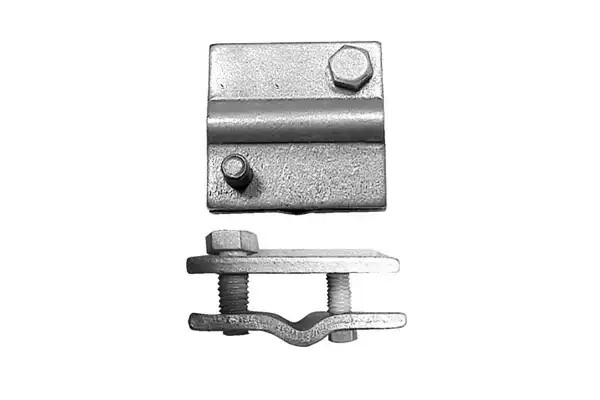
At crossing locations, crossover clamp allow even power flow by directing the distance between conductors. By keeping alignment and continuity, they keep currents continuing along their intended pathways. The risk of electrical disruptions and short circuits reduces by these crucial clamps. This is possible by keeping the distance between conductors safe. In designs based on voltage, size and environment, bolted halves bond. The conductor of each bolted half gets support from certain grooves. They are from of robust, conductive and resilient materials. Hydraulic crossover clamps, cable crossover clamps and pipe crossover clamps are common types. Applications for crossover clamps include construction, telecommunications, and power lines.
Installation of a crossover clamp requires certain tools.
There are a few tools needed for the installation of the crossover clamps. They contribute to a reliable and strong connection. Pipe connections are safe and dependable when the correct instruments and installation techniques are in place. Also, it is a good idea to adhere to the manufacturer’s instructions and suggestions for the particular crossover clamp used. The different instruments and tools required for installing a crossover clamp are as listed below.
- Wrenches – this instrument helps to secure and tighten the nuts and bolts on the crossover clamp. There are several different kinds of wrenches, including combination, socket and adjustable wrenches.
- Screwdrivers – these are useful tools for fastening screws or other items to the crossover clamps. Philips and flathead screwdrivers are two popular varieties.
- Tape measure – this helps in accurately measuring the space between pipes during installation. This aids in making sure the crossover clamps positions precisely for tight fittings.
- Level – this aid in ensuring that the pipes are properly aligned to prevent problems like uneven pressure on the crossover clamp.
- Torque wrench – this is necessary to make sure bolt tension is correct and constant. By avoiding overtightening, you prevent damage and failure.
- Crimping tool – crimping tools eases the attachment of additional installation components.
- Cable cutters and strippers – there are useful tools for prepping conductors for installation. It facilitates a good fit and permits modifications in accordance with installation specifications.
- Lubrication – using a small amount of lubrication on bolts facilitates smoother tightening and reduces seizing.
- Sockets and socket wrenches – these are useful tools for clamps that use sockets to secure fasteners.
- Safety fear – gloves, safety glasses and other protective gear are examples of safety gear. They are necessary to keep you safe from electrical risks, sharp edges and falling debris.
- Pipe thread sealant – applying sealant to threaded connections can help stop leaks. Additionally, it strengthens the seal and aids in preserving the connection’s integrity.
The diverse attributes of the crossover clamp
Crossover camps come with a variety of parts that improve their usability, robustness and adaptability. A thorough analysis of the characteristics guarantees the ideal choice for your applications requirements. The different characteristics of crossover clamps are as follows.
- Locking mechanisms – after installation, the clamps strong locking mechanism makes sure it stays in place. This keeps the linked pipes stable and stops them from moving.
- Load capacity – using crossover clamps with the right load capacity ensures that the pipes weight and stress are properly managed.
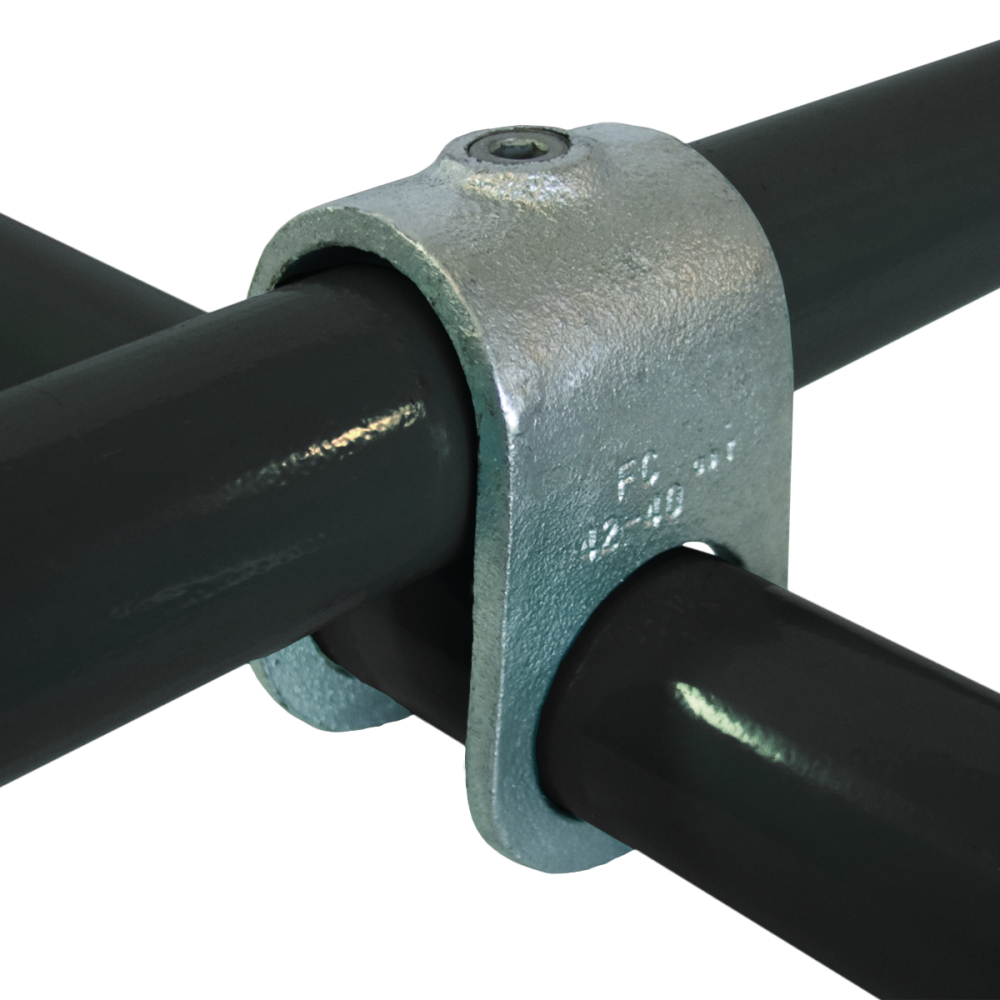
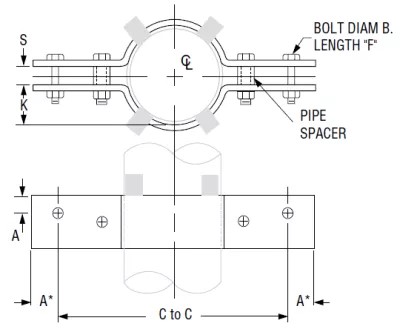
- Grooves – the clamp consists of two parts that join by pins, bolts and other fasteners. The conductors stay in place and housed by grooves on either half.
- Conductive materials – the clamps are from highly electrically conductible materials. These materials consist of composite polymers, aluminum and galvanized steel.
- Mechanical strength – they are from materials that possess a strong mechanical structure. This aids in resisting conductor movement and tension stresses.
- Insulation – in certain configurations, insulating materials position in between the conductor and the clamp. The conductors are more protected as a result.
- Specialized designs – the clamps come in various conductor diameters, materials and high voltage application-specific designs.
- Temperature resistance – this is a useful attribute in situations when the clamp installs in hot or cold environments.
- Adjustability – this feature makes it easier for the clamps to fit various conduit or pipe diameters. This contributes to their adaptability which enables them to function in a range of settings.
How to install crossover clamps
The installation procedure for crossover clamps varies based on the necessity, design and kind of clamp. At crossover places, pipes get support and connect through the clamps. Here is a step-by-step guide to installing the crossover clamps.
- Make sure that the workspace is both accessible and safe. This also entails making sure the electricity is de-energized and put on personal protective equipment.
- At the crossing point, measure and mark the appropriate distance between the pipes using a tape measure. Make sure the measurements are precise to prevent misalignment.
- Find the location of the crossover installation, which is the point where the conductors cross. This helps to preserve electrical continuity.
- At the crossing places, clean the conductors surfaces to get rid of any oxidation, grease or dirt. Additionally, you should look for any damage or anomalies in the conductors that can interfere with the crossover clamp’s installation or functionality.
- Make sure the clamp is ready and suitable for the size, type and voltage level of the conductor. Additionally, you ought to see if the manufacturer has any special instructions for installation.
- After cutting the pipes to the desired length using a pipe cutter, smooth the edges and remove any cases with a file.
- Align the grooves with the conductors and place the crossover clamp over the crossing conductors. Make that the clamp seats correctly on the conductors and that it centers.
- To tie the two clamp pieces together, use the proper fastening mechanisms to secure the clamp.
- Check to make sure the conductors are firmly secured in place by the crossover clamp. Additionally, this keeps appropriate separation and alignment. Verify that there isn’t any interference or contact between the conductors.
- Verify that the installed crossover clamp is free of flaws, loose connections or other indications of damage. Tests and inspections guarantee proper electrical continuity and system integrity.
- To ensure the safety of the work area, remove any waste or debris created during the installation.
Safety measures to take when installing a crossover clamp
It is crucial to prioritize safety by following safety guidelines and getting assistance from trained experts. This contributes to making the crossover clamp installation procedure safe and effective. It also aids in the reduction of damage, injuries and accidents. Establishing a secure workplace with little chance of mishaps is also advised. When installing crossover clamps, use the following safety precautions.
- Personal protection equipment (PPE) – this comprises of gloves, safety glasses and other essential PPE. This aids in defense against possible risks such flying debris, sharp objects and chemical contact.
- De-energization – prior to installing the clamps, make sure the lines have been de-energized in accordance with safety procedures.
- Workplace security – enclose the workspace with cautionary notes and barricades to prevent unauthorized individuals from entering.
- Worker meeting – call a team meeting prior to installation to go over protocols, potential risks and emergency preparations.
- Examine all of the tools before the installation to make sure there are no damage or faults. This lessens the possibility of accidents brought on by broken equipment.
- Manufacturer’s instructions – install the particular crossover clamp according to the manufacturer’s recommendations. This guarantees accurate clamp installation and operation.
- Before energizing the lines, make sure all the connections are snug and there are no loose parts.
- Post-installation inspection – check the clamps and connections to make sure they are operating properly after de-energization.
Activities related to crossover clamp maintenance
The harsh weather and climatic circumstances impose the regular maintenance of crossover clamps. It supports transmission line installations by assisting in ensuring the robustness, dependability and safety of crossover clamps. Here is a basic maintenance advice for crossover clamps.
- Create a routine inspection schedule for crossover clamps, taking into account humid and variable weather conditions in particular.
- Visually inspect the crossover clamps for evidence of wear, corrosion or other damage. Look for fractures, loose bolts or alignment issues.
- Apply corrosion-resistant materials or coatings and strengthen anti-corrosion procedures.
- Clear the crossover clamp of any impurities that can hasten corrosion, such as dirt and debris.
- Make sure the crossover clamp keeps the conductors aligned and spaced correctly.
- Check the transmission cables’ mechanical load on a regular basis. Additionally, look for any indications of stress or deformation on the crossing clamps from wind or tension.
- To improve efficacy and safety, make sure all bolts and fasteners on crossing clamps are tight.
Frequently asked questions
There are several types of crossover clamps available to select from in the market. These include angle clamps, parallel clamp, tension clamps and dead-end clamps.
The frequency of the maintenance and inspection varies depending on factors such as environment, voltage levels and manufacturer recommendation. Conduct visual inspections annually and torque checks and maintenance at larger intervals.
Crossover clamp failure can lead to electrical faults, short circuits, sparks leading to fire and weakening of the infrastructure.